 |
This morning, I trimmed, sanded, and filed the carbon layers I had added yesterday. afterward, I tapered the layup in the vicinity of the splice on the other side of the cover and added extra layers just like the other side. I also added a small patch with one more layer on the first side. |
 |
I decided to work on the stiffening around the top edge of the center arm rest compartment the rest of the day. After deciding that I would use .040 thick aluminum to accept the flange of the cover, I needed to find a piece of .040 scrap which I could use for setting up for the correct (matching) bend radius. This was an old part used for rivet practice. |
 |
I cut out a small piece that hadn't been drilled or dimpled. |
 |
The first test bend had a too-small radius. |
 |
After a couple more test bends, I was setup to create a matching bend. |
 |
I found a piece of .040 thick material. I dunno what alloy or temper it is, but it shouldn't matter much...it's really just going to serve as a spacer. I setup to cut off a ~1/2" wide strip with the nibbler. |
 |
Unfortunately, the nibbler caused it to develop a curl. |
 |
Some twisting and I had it back to (relatively) flat... |
 |
...but it had a bit of a curve. It was still a bit too wide at this point, so I sanded down the nibbled edge to .500 wide. That straightened it out for the most part. |
 |
The part needs to be 2.430 wide to fit into the center arm rest. The first attempt was about .020 too wide. :-( |
 |
...The second attempt was pretty much spot on. |
 |
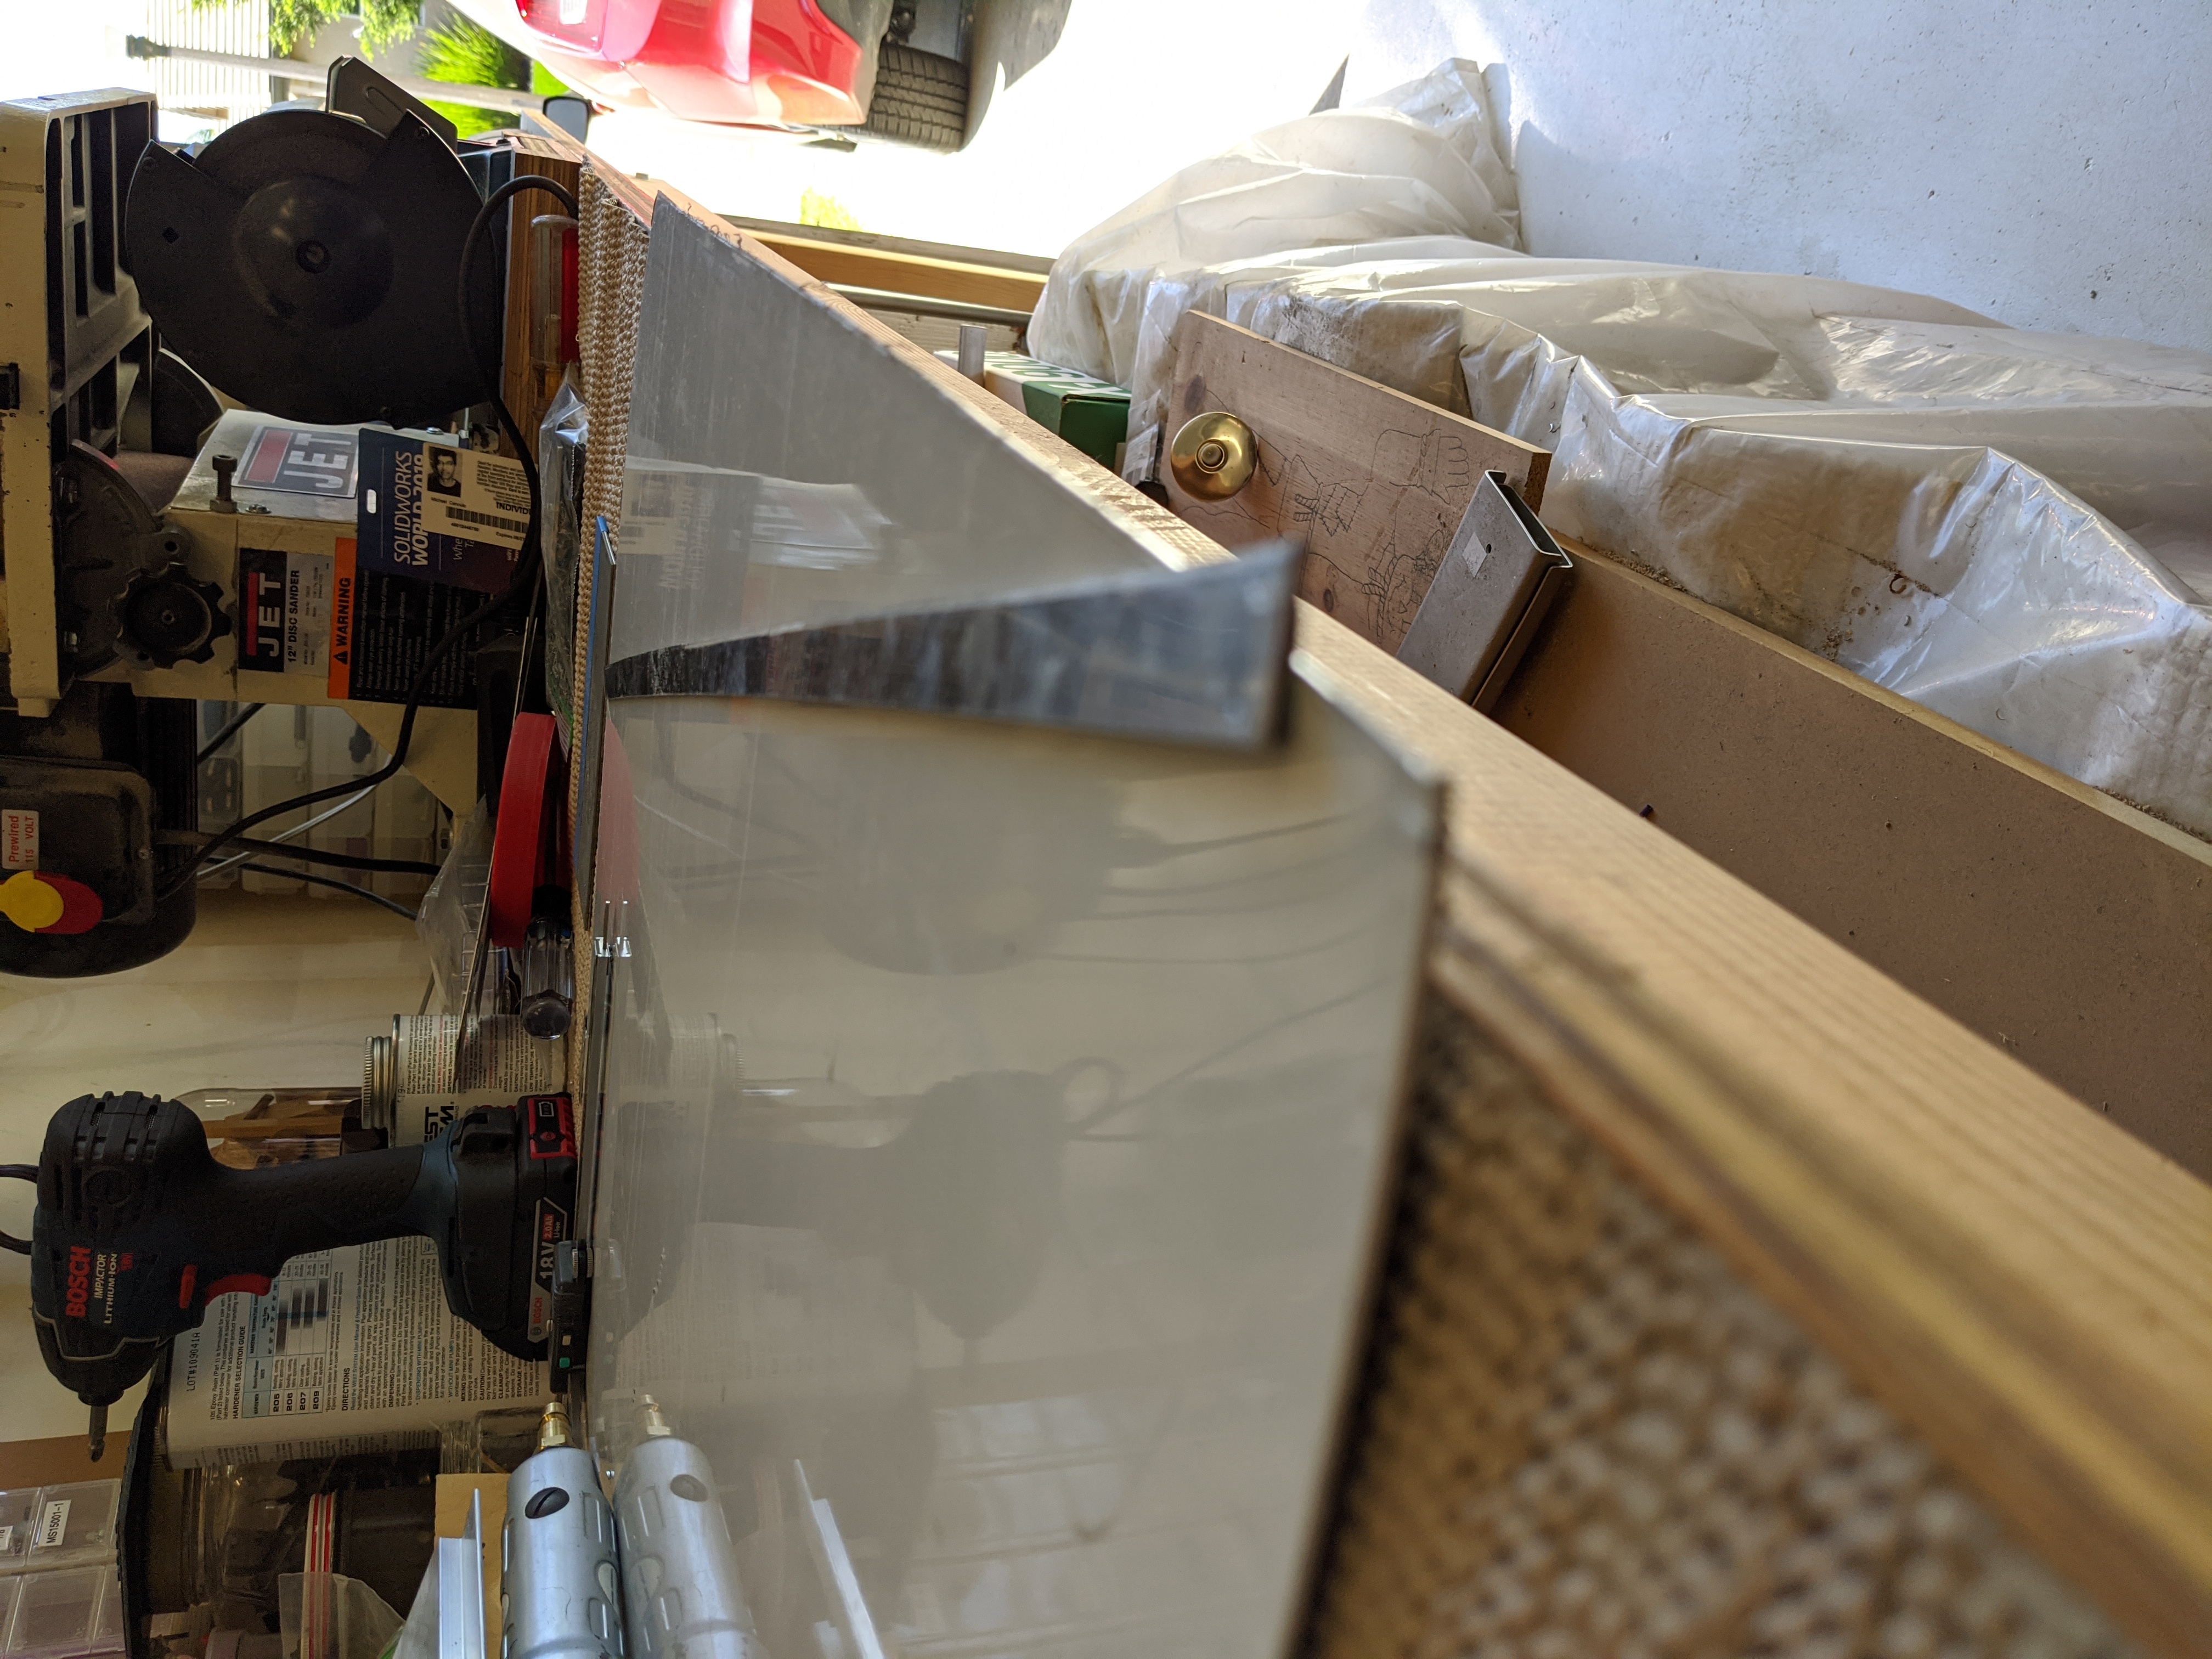
Here's how it nests into the center arm rest. Pretty happy with that. |
 |
There will be one more layer inside of this...another layer of .025 aluminum. I want the bottom edge of the innermost .025 layer to be bent so that it is less likely for maps, papers, etc. to get caught on these reinforcements when pulling them out of the compartment....so, it needs to be bent by .040. It's hard to explain...just wait and you'll see in the next day or two. Anyway, I tried seeing how much of a bend I can achieve with my seaming pliers on this piece of .025 scrap. |
 |
It looks like the best it can do is about .020...not enough. |
 |
There is another kind of seaming tool. I believe Avery used to sell them. Basically a couple bearings with a slight gap for the material. I didn't have this kind of seaming tool, so I just decided to make one. Here is my collection of ball bearings, salvaged from dead equipment, or leftover from projects. I found a pair with a 6mm ID. They're about 8mm wide. I think the two I chose were leftover from redoing the wheels on our luggage a while back. |
 |
I don't have much metric hardware... |
 |
But found a couple 6mm diameter bolts to use as the shafts for this tool. |
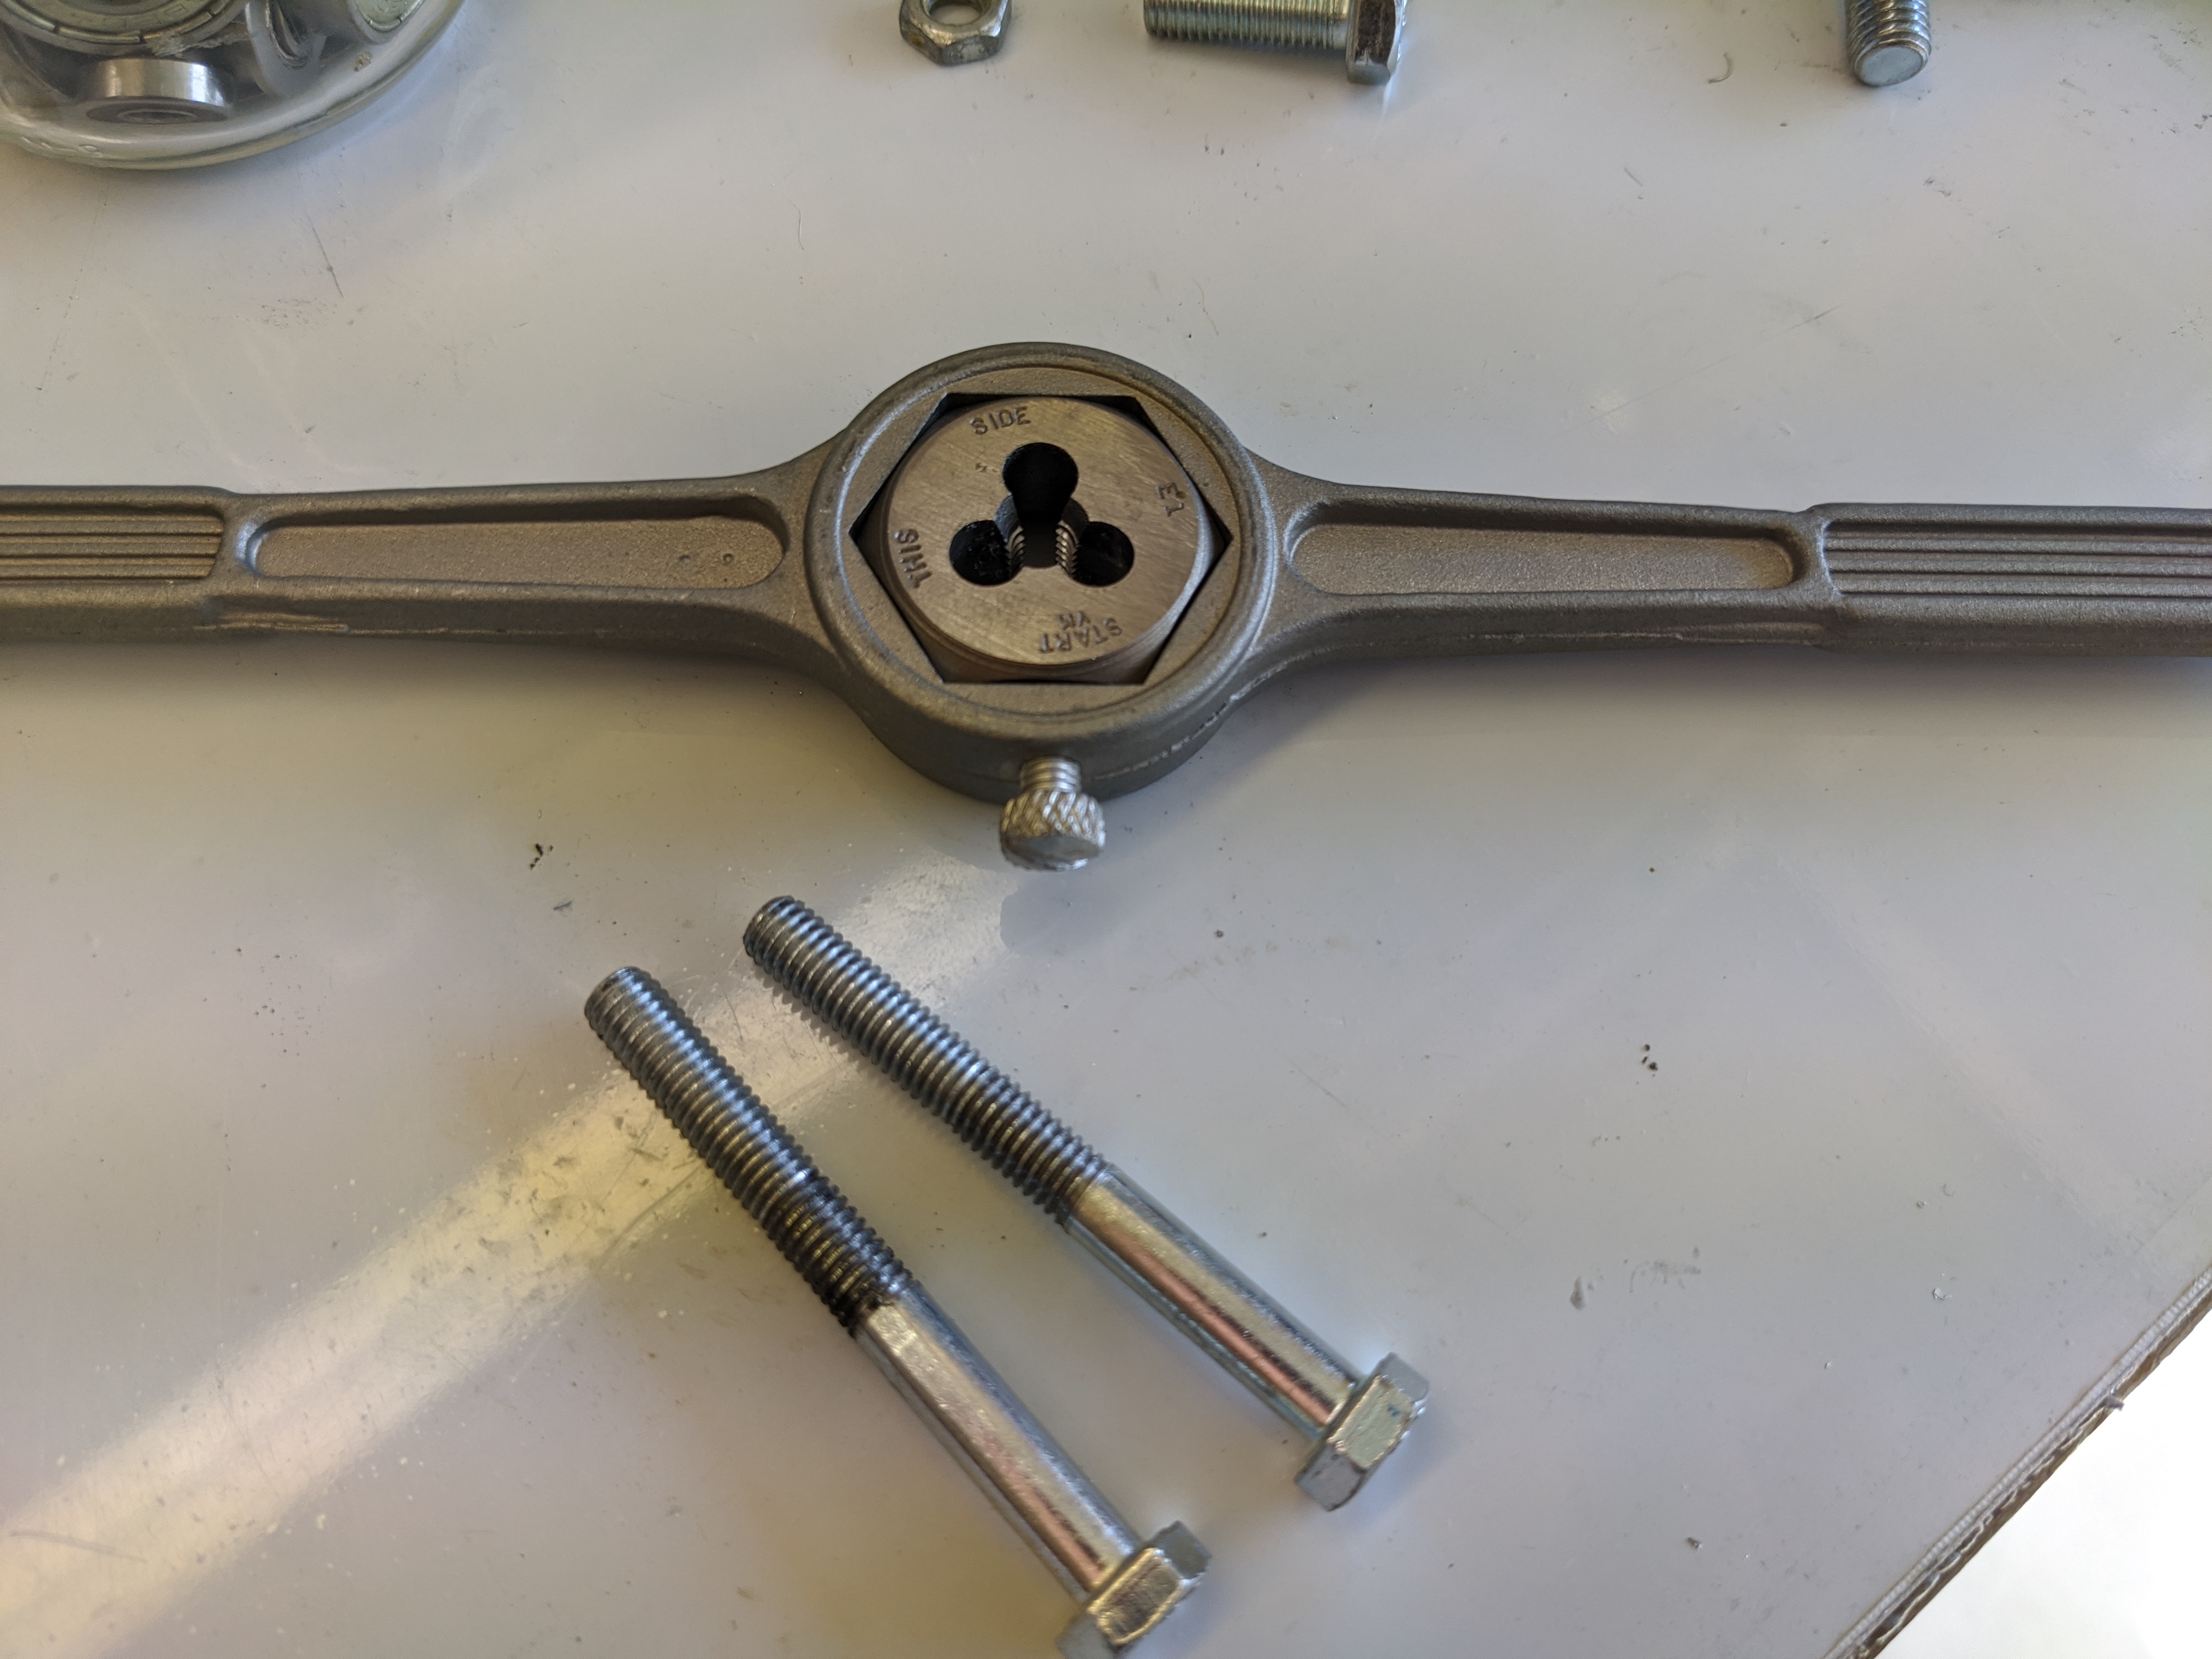 |
The bolts needed threaded a bit further than they were... |
 |
...and they didn't need to be so long. |
 |
Here's the finished tool. That black material was made from a piece of scrap leftover from when I was doing military replacement parts. I used this material to manufacture some fuel line clamps for the B-1 bomber. IIRC, those fuel lines were something like 3.5" diameter. Wow! |
 |
I tested the new tool on a piece of scrap. It makes a bend about 5/16" from the edge. |
 |
Last item for the day was to cut a strip of material to be used for the inner layer to stiffen the top edge of the center compartment. If I leave a 5/16" lip around the bottom of the lid, and the .040 spacer is 1/2" high, and the bevel is 5/16" high, then the width of this strip needs to be 1 1/8" wide. ...and here it is. :-) |